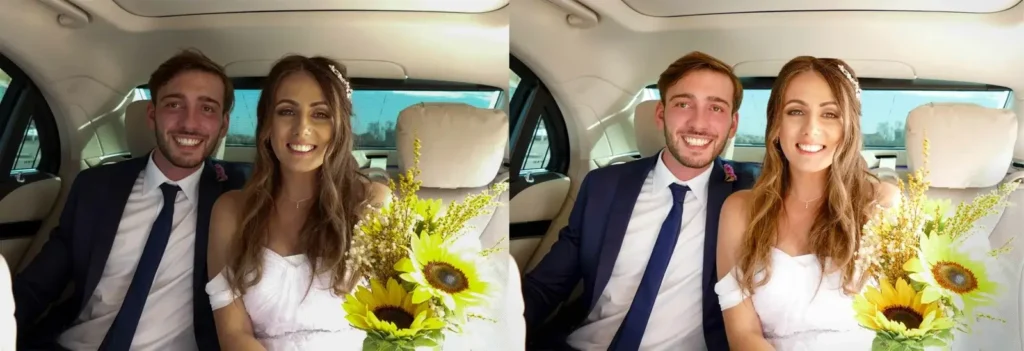
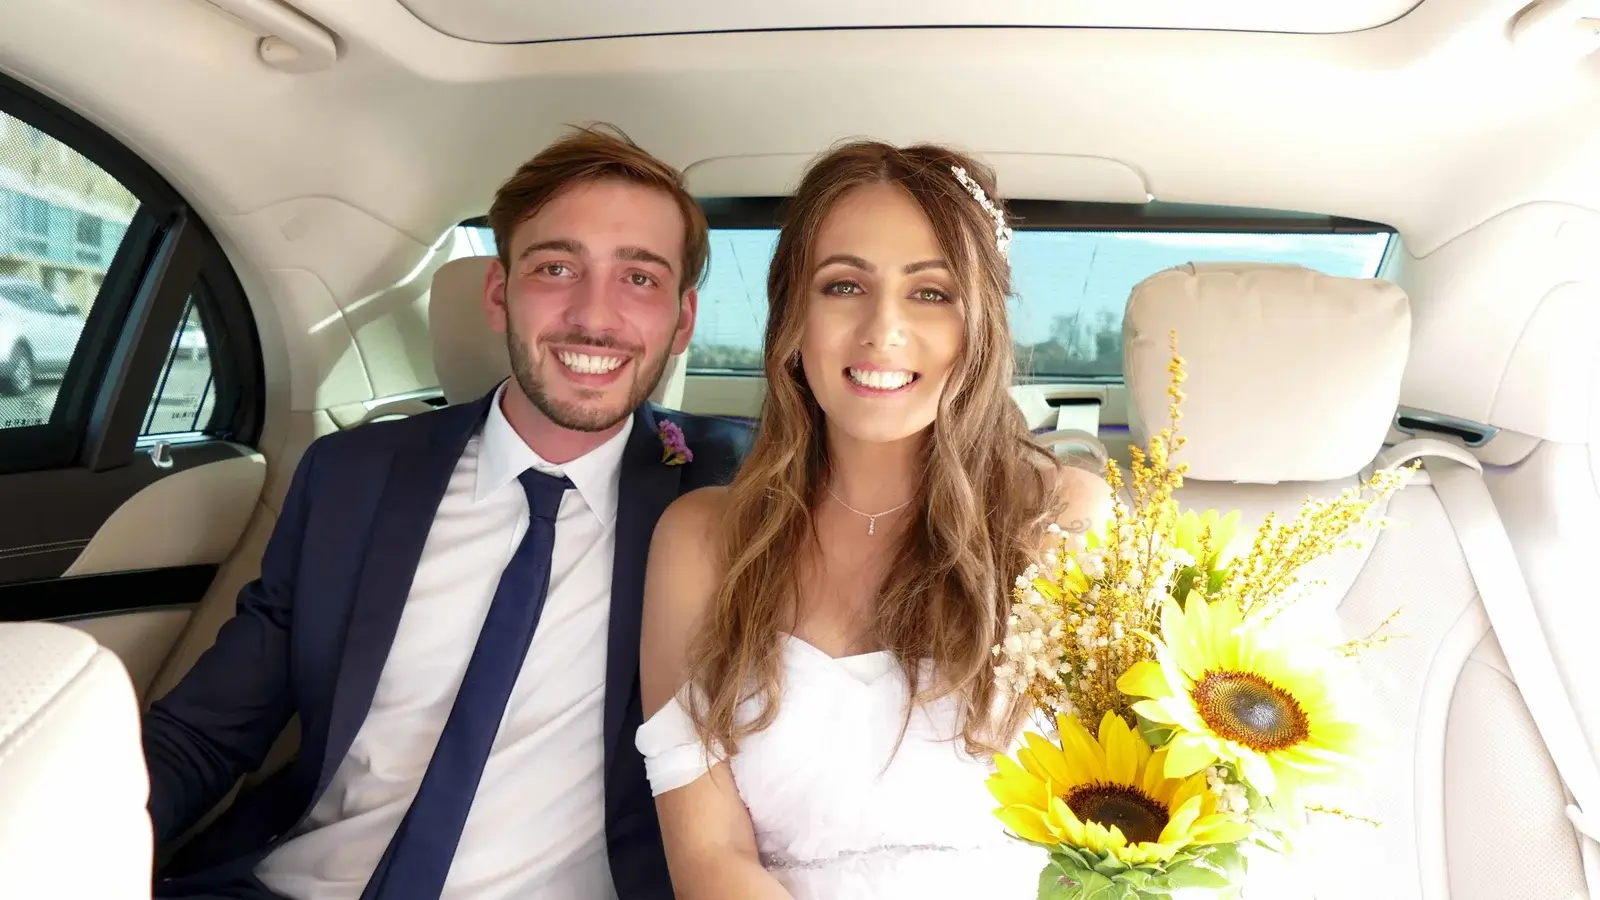
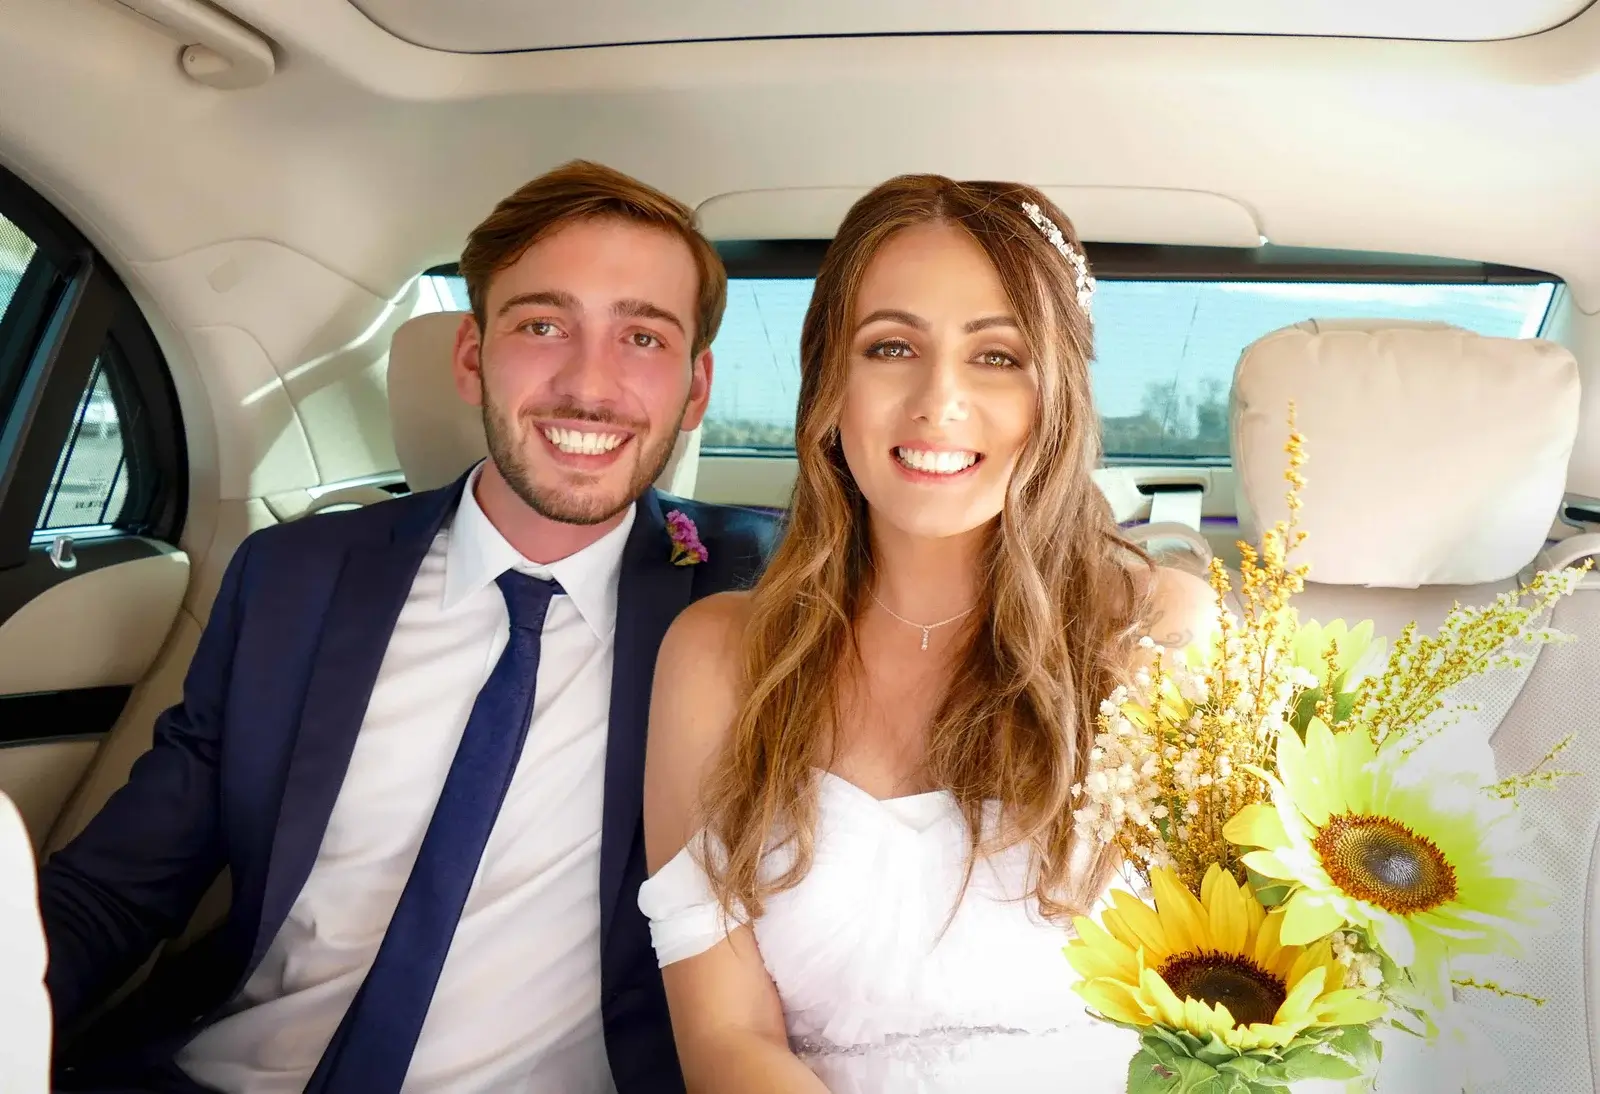
Wedding photographs preserving the most precious moments of our most meaningful day are of great significance. Despite the best cameras and photographers, however, some flawed photos are inevitable. Nevertheless, no need to be distressed because the Photos Editing Services (PESs) is here for you. Learn how to edit high-end wedding photos in Photoshop below:
Video Guide on How to Edit Wedding Photo
Download Photoshop and get Free Trial
Are Retouching and Editing the Same Thing?
Retouching and editing, while closely related, are distinct processes in the realm of photography. Both involve the adjustment of images to enhance their visual appeal, but they differ in terms of scope and purpose.
Retouching:
Retouching primarily focuses on refining specific elements within an image. For example, a wedding photographer might employ skin retouching techniques to perfect the complexion of the bride and groom in their portraits. This involves addressing imperfections, smoothing skin tones, and achieving a natural look. Retouching can extend to other aspects, such as white balance adjustments, where the photographer ensures that colors appear true to life, contributing to the overall harmony of the wedding images.
Professional wedding photo retouching services often utilize advanced software like Adobe Photoshop to meticulously retouch RAW files, the high-quality image format that retains maximum detail. In the context of a wedding album, retouching ensures that every image is polished to perfection, creating a cohesive and visually stunning collection.
Editing:
Editing encompasses a broader spectrum of adjustments that go beyond specific enhancements. It includes basic photo retouching as well as comprehensive alterations like color saturation adjustments, white balance corrections, and the elimination of duplicate images. Editing software is versatile, allowing photographers to manipulate various elements of an image to achieve desired effects.
A photo editing company specializing in wedding images might employ editing techniques to refine the overall color palette of the album, ensuring consistency and a harmonious visual narrative. This involves adjusting color saturation to enhance vibrancy while maintaining a natural tone.
While retouching and editing share common ground in enhancing photographs, retouching tends to be more targeted and detailed, often involving portrait retouching for subjects like skin smoothing. Editing, on the other hand, encompasses a broader set of adjustments to refine the overall quality and visual coherence of the images. Both processes are integral to the workflow of a wedding photographer and contribute to the creation of captivating and timeless wedding albums.
Follow the following guidelines on how to edit wedding photos and your pictures will become faultless.
1) Making it Bright

Due to the multiple number of lights (the tungsten lamps, chandeliers, sunlight, blue hues of the sky) in the wedding venue, the photos can turn out too dark. So, you first need to make it bright and the wedding photo retouching has just the thing for it.
-
- Firstly, make a copy layer. Press “Ctrl+J” and drag and drop. Select this copy layer to work upon; never work upon the original. For convenience, name your layers. This layer, for instance, can be named ‘Brightness’.
- Go to “Adjustment Layer – Curves” and select the “Hand” tool. Click and drag it on the skin until the picture becomes appropriately bright. On the bottom-right side of the histogram, if there is space left, drag the slider left; this ensures that you are not losing details. Hold the “Alt/Option” key on the keyboard and drag the slider – by going too much to the left, you will end up losing details so don’t go too much to the left and keep the slider at the appropriate point. Then adjust the curve if you have to. With this, you have a bright base on which you can officially start your wedding photo editing.
2. Blemishes:
An essential component of wedding photo retouching is the removal of blemishes and spots. The fixing of lightning, color, and skin tones will come after it as they require more duplicate layers to work upon and you don’t want the blemishes following them.
- Make another duplicate layer using “Ctrl+J” and drag and drop. Name it, for example, ‘Blemishes’.
- Zoom to see the blotches. Select the “Magnifying Glass” and make the “Scrubby Zoom: 100%”, and you will be zoomed in 100%. Zooming in is especially important in wedding photo editing to remove all spots.
- Go to “Adjustment Layer – Black and White”. In it, reduce the amount of “Red” color by dragging the slider of the “Red” color to the right – through this, the blemishes and acne stand out. Then you can increase the “Yellow” color a bit to increase the brightness.
- The tools used in wedding photo retouching to remove blemishes are:
- “Regular Healing Brush” tool: make sure the “Sample: Current and Below” is selected and use a large or small brush according to your requirement. Hold the “Alt” button and right mouse button, drag it to the right to make it bigger, and left to make it smaller. Hold the “Alt/Option” key, click to take a sample, and remove blemishes.
- “Patch” tool (it is faster): make sure that the “Patch: Normal” is selected. Select one blemish by drawing a circle around it, press and hold the “shift” key on your keyboard – the cursor changes to a plus sign – and select more blemishes with the “shift” key still held. Then, let go of the “shift” key, and drag the blemishes a little left or right toward where you want to sample it. Let go and the blemishes would have been cleared.
- Group these two layers together through “Ctrl+G” (excluding the “Background” layer).
- You can always do it yourself or hire a professional wedding photo editor for faster results.
3) Color and Skin Tone Correction:
PESs Wedding photo retouching entails color and skin tone correction through the adjustment of the red, green, and blue colors.
???? Make another duplicate layer using “Ctrl+J”.
???? Color Adjustment with Curves:
Go to “Adjustment Layer – Curves”. There are three eye-dropper tools which are black, gray, and white color points respectively. Select, for illustration, the gray color point and click on the area in the image where there is the same gray color as the color point, like (black) hair which appears gray. That hair color will be automatically adjusted i.e. become black. Press Ctrl+Z and click on all areas of the image where color needs to be adjusted and the color of all those areas will also be corrected. 90% of the color is corrected through this aspect of wedding photo editing. If you want to adjust individual colors (red, blue, green), select that color in “Channel” and adjust the color accordingly by moving the curve. Once done, hit “OK”.
???? Highlight Selection and Brightness Adjustment:
Go to the “Channels” icon (beside the “Layers” icon), hold down the “Cmd/Option” button on the keyboard, and click “RGB”. It will select the bright and highlight part of the image. Following that, go back to the “Layers” panel and select “Adjustment Layer – Levels”. Drag the “Highlight” slider to the left until the desired brightness is obtained. It has brightened the skin tone without affecting the rest of the image.
???? Fine-tuning with Hues/Saturation:
Next comes the “Adjustment Layer – Hues/Saturation”. Slide the sliders of “Hue”, “Saturation” and “Lightness” accordingly. On “Edit”, select any color you want to individually adjust and do it accordingly.
???? Natural Skin Tone with Color Balance:
Then, “Adjustment Layer – Color balance”. If you want to add a bit of color (yellow, orange – natural colors of the skin) to give the skin tone a natural look (after the aforementioned wedding photo retouching steps, the skin tone tends to become an unnatural white), adjust the sliders of “cyan-red”, “magenta-green”, “yellow-blue” according to the required “color level”.
???? Enhancing Color Vibrancy:
Select “Adjustment Layer – Vibrance” to make the colors more vibrant. Adjust the “Vibrance” and “Saturation” (intensifies color) sliders accordingly.
???? Brightness and Contrast Adjustment:
Through “Adjustment Layer – Brightness/Contrast”, adjust the brightness and contrast accordingly.
???? Overall Image Enhancement with Curves:
To give an overall vibrant look (if you feel lacking), go again to “Adjustment Layer – Curves”. Adjust the curve by increasing or decreasing the highlights, shadows, blacks, and whites accordingly.
???? Grouping and Labeling Layers:
Lastly, group all the layers created through wedding photo editing together through “Ctrl+G” and rename the layer, e.g. ‘Edited’, to differentiate between the edited and original one.
Once done with the wedding photo retouching, compare it with the original picture, and the results will satisfy you. If you find this “how to edit wedding photo” article helpful kindly comment and let us know
P.S. Just to be on the safe side, if you are an amateur, it is advisable to reach our professional wedding photo Editing service because wedding photographs are irreplaceable.
Learn how to create your own Lightroom presets for Wedding Photos
First, you need to have Adobe Lightroom on your computer. It’s a tool that helps you make your photos look better. To get started, you will need Adobe Lightroom installed on your computer.
- When first launching Lightroom, open the image you want to edit from either the Library or Develop modules. Once the photo is loaded, you can start creating your preset. Start by making subtle adjustments to the white balance, exposure, and contrast. When you’re working on a photo, remember that the changes you make will be the foundation for your preset.
- After you’ve adjusted the basics of the photo, it’s time to create your Lightroom preset. At the bottom of the Develop module, click the “+” icon next to Presets and give your preset a name. As you create more presets, you can organize them into folders. After naming your preset, click the “Create” button and your preset will be saved.
- Once you’ve saved your special settings, you can use them on other photos easily. Just open another photo in Lightroom and pick your saved settings from the menu next to the Develop section. Now, that photo will look like you want it to.
- Making your own presets for wedding photos is a cool way to make your photos look great without much effort. Follow a few easy steps, and you’ll have awesome and unique photos that capture the beauty of any special day!
Enhancing Wedding Photos
Fixing wedding photos is a big part of making a beautiful wedding album. To make the photos look really good, you need to edit them smartly. You can use fancy techniques to improve things like color, brightness, sharpness, and how clear the pictures are. Also, editing can help get rid of anything in the photo that you don’t want or make the main thing in the picture stand out more. But, when you’re making final changes, it’s important to keep the original idea of the photo and make sure it still looks natural.
When dealing with wedding pictures, it’s important to spend extra time and effort on editing. This includes sharpening images, reducing noise, adding contrast, and adjusting exposure. These are all aspects that can be adjusted manually in a photo editing program or through automated features like “auto tone”. Also, you can use retouching techniques to get rid of small imperfections and make the photos look perfect. With the right editing techniques, wedding photos can be turned into truly memorable keepsakes for years to come.


