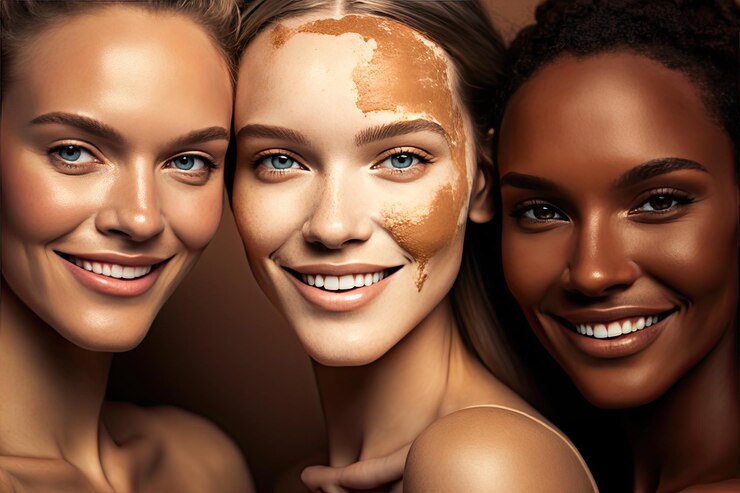
Photoshop is a go-to tool for photographers and digital artists when it comes to enhancing and correcting skin tone. Achieving a natural-looking skin tone involves understanding the factors influencing it and utilizing Photoshop tools to fix skin tone in Photoshop, ensuring a seamless blend and realistic appearance.
How We Fix Skin Tone in Photoshop
Skin tone varies due to several factors, including genetics, lighting, and environmental conditions. In digital images, issues like uneven lighting, improper camera settings, or reflections from surrounding objects can lead to unnatural skin tones. Here’s an explanation of these factors:
- Lighting: Light sources, their intensity, and their angle can significantly impact skin tone. Direct, harsh light can create shadows and color shifts, while diffused lighting can produce more even tones.
- Camera Settings: Incorrect white balance or exposure settings can lead to skin tones that appear too warm, too cool, or overly saturated. It’s crucial to ensure your camera settings are appropriate for the lighting conditions.
- Environmental Factors: Surrounding colors, such as brightly colored clothing or backgrounds, can reflect onto the subject’s skin, leading to unwanted color casts.
Understanding these influences is key to correcting skin tone in Photoshop effectively.
Tools for Fixing Skin Tone in Photoshop
Photoshop provides a diverse set of tools for correcting skin tone. Here’s an in-depth look at some of the most useful ones:
Hue/Saturation
This tool allows you to adjust the hue (color), saturation (intensity), and lightness. It’s particularly useful for correcting color imbalances across the entire image or within specific color channels. For skin tone correction, you can target specific colors that might be causing the issue, such as reds or yellows, and adjust them accordingly.
Levels and Curves
These tools offer control over brightness and contrast, with Curves providing more granular control over individual color channels. Levels can be used to correct overall tonal balance, while Curves allow for more precise color corrections by manipulating RGB channels. If you want to fix skin tone in Photoshop, you can use both Levels and Curves to adjust the color balance and tone of the skin, ensuring a natural and flattering look. This can be useful for fine-tuning skin tone and achieving a more natural look.
Selective Color
With Selective Color, you can adjust specific colors within the image. This is helpful for correcting isolated color issues without affecting the overall balance. You can, for example, target reds to adjust skin tone while leaving the rest of the image unchanged.
Color Balance
This tool enables you to adjust the balance of primary colors (red, green, blue) across shadows, midtones, and highlights. It’s a valuable tool for achieving a natural-looking skin tone, as it allows you to fine-tune the color balance at different levels of brightness.
Brush and Layer Masks
These tools are essential for targeted corrections. Layer masks let you apply corrections to specific areas without affecting the rest of the image. The brush tool, when used with layer masks, allows for precise application of adjustments. This is useful when you want to correct skin tone in certain areas without impacting the surrounding environment.
Gradient Map
The Gradient Map tool can be used to create custom gradients that map different tones to specific colors. This is a versatile tool for creating consistent skin tones across the image or achieving artistic effects while maintaining natural-looking results.
Photo Filter
Photo filters offer preset color adjustments that can be applied to the entire image or specific areas. They are useful for adding warmth or coolness to skin tones, allowing for subtle adjustments that can dramatically improve the overall tone of an image.
Channel Mixer
This tool allows you to manipulate the red, green, and blue channels individually, giving you the flexibility to correct specific color imbalances. It’s a powerful tool for fine-tuning skin tones and achieving a balanced look across the entire image.
Blending Modes
Blending modes determine how layers interact with one another. By experimenting with different blending modes, you can achieve unique effects and skin tone corrections. Modes like “Multiply,” “Screen,” or “Soft Light” can be useful for blending layers and correcting skin tone without harsh transitions.
Dodge and Burn
These tools let you lighten or darken specific areas, helping you correct shadows or overexposed spots on the skin. They are ideal for refining skin tone and ensuring even lighting across the face or body.
Spot Healing Brush and Clone Stamp
The Spot Healing Brush allows you to remove blemishes and imperfections without disrupting the surrounding texture. The Clone Stamp can be used to copy a part of the image and “stamp” it over another area. These tools help improve the overall appearance of skin while maintaining its natural look.
Our Services
Skin Tone Correction
This service focuses on achieving consistent and natural skin tones in photos. It involves adjusting color balance, reducing redness or yellows, and enhancing the skin’s overall appearance. We utilize a range of techniques, such as color correction, selective hue adjustments, and advanced blending, to fix skin tone in Photoshop, to guarantee flawless outcomes.
Background Removal
Removing backgrounds from photos involves isolating the subject and creating a clean, transparent, or custom backdrop. This is useful for product photography, headshots, or images where the background is distracting. Common techniques include the Magic Wand, Quick Selection tool, and Layer Masks to precisely define edges.
Photo Retouching
Photo retouching aims to improve the overall image quality by enhancing details and correcting imperfections. This can include removing blemishes, smoothing skin texture, and whitening teeth. Advanced retouching also involves contouring facial features and adjusting lighting for a natural yet polished look.
Color Correction
Color correction ensures a balanced and harmonious color scheme throughout the image. This service adjusts color temperature, saturation, and tint to bring out the best in the photo. It also involves correcting white balance issues and ensuring skin tones look realistic across different lighting conditions.
Object Removal
Object removal is used to eliminate unwanted items or distractions from a photo. Techniques like the Clone Stamp, Content-Aware Fill, and Healing Brush are employed to ensure seamless results. This service is often used to clean up backgrounds or remove elements that disrupt the focus on the subject.
Photo Restoration
Photo restoration is the process of repairing damaged or old photos to restore them to their original condition. This service may involve fixing scratches, tears, and fading, as well as correcting discoloration. For older photos, this often includes extensive skin tone correction to revive the natural colors.
Portrait Enhancement
Portrait enhancement focuses on improving facial features and expressions. This service can include eye enhancement, teeth whitening, and facial contouring. It’s commonly used in portrait photography to ensure subjects look their best while maintaining a natural appearance.
Image Resizing and Cropping
This service involves changing the dimensions of an image or cropping it to focus on key subjects. It’s used to remove unnecessary elements and improve composition. When resizing, care is taken to maintain image quality, ensuring skin tones remain consistent throughout the process.
Layer Masks and Blending
Layer masks and blending techniques are crucial for complex Photoshop projects. This service involves creating smooth transitions between different elements and ensuring adjustments don’t create harsh lines or unnatural effects. It’s especially useful when correcting skin tone across various sections of an image.
Advanced Editing and Compositing
Advanced editing and compositing combine multiple elements or images to create a unique final product. This service requires detailed color correction, precise blending, and expert use of Photoshop tools to ensure a cohesive result. Skin tone correction is a key aspect, as it can be challenging to maintain consistency across different composited sections.
To Fix skin tone in Photoshop involves a combination of understanding the causes of skin tone issues and mastering the tools designed to correct them. By using tools like Hue/Saturation, Levels and Curves, Selective Color, Color Balance, and others, you can achieve natural-looking skin tones in your images.


